はじめに
こんにちは、nukkyです。
今回はReact Nativeでよりリッチなアプリを作成するためにアニメーションを扱うライブラリ「react-native-animatable」と「lottie-react-native」を使ってみたいと思います。
準備
インストールしたいプロジェクトで以下のコマンドを実行します。
| 1 | npm install react-native-animatable --save |
実装
react-native-animatableをインポートします。
| 1 | import * as Animatable from 'react-native-animatable'; |
アニメーションしたいコンポーネントに対して以下のようにするだけでアニメーションが実行されます。
| 1 | <Animatable.Text animation="zoomInUp">Zoom me up, Scotty</Animatable.Text> |
アニメーションをループしたい場合は以下、
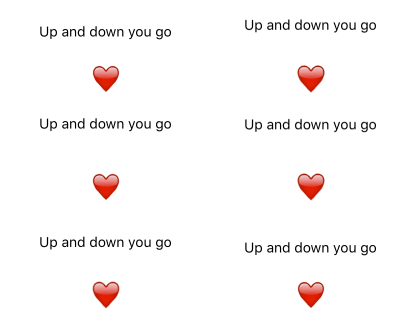
| 1 2 | <Animatable.Text animation="slideInDown" iterationCount={5} direction="alternate">Up and down you go</Animatable.Text> <Animatable.Text animation="pulse" easing="ease-out" iterationCount="infinite" style={{ textAlign: 'center' }}>❤️</Animatable.Text> |

イベントを通しての実行
React Nativeのrefを使ってユーザーイベントが発生した時、アニメーションが実行されるように作れます。
| 1 2 3 4 5 6 7 8 9 10 11 12 13 14 15 16 17 18 19 20 | // インポート import * as Animatable from 'react-native-animatable'; export default class Page extends React.Component<Props, State> { private AnimationRef; render() { // 中略 return ( <TouchableWithoutFeedback onPress={this._onPress}> <Animatable.View ref={ref => (this.AnimationRef = ref)}> <Text>Bounce me!</Text> </Animatable.View> </TouchableWithoutFeedback> ); } private _onPress = () => { this.AnimationRef.bounce(); } } |
アニメーションについて
アニメーションはreact-native-animatableの公式githubでアニメーション例と一緒に確認できます。
https://github.com/oblador/react-native-animatable
使えるアニメーションで代表的なのは下記になります。まだまだ使用できるアニメーションはあるので公式で確認してみてください。
- bounce
- flash
- jello
- pulse
- rotate
- rubberBand
- shake
- swing
- tada
- wobble
- bounceIn
- fadeIn
- fadeOut
- zoomIn
lottie-react-native
react-native-animatableはコンポーネントに対してアニメーションを行うライブラリでしたが、ローディング画面やスプラッシュなどでgifのようなアニメーションを簡単に実装できる「lottie-react-native」も使ってみたいと思います。
Lottieとは
LottieはAfter Effectsで作成したアニメーションを、Bodymovinというオープンソースの拡張機能を使ってjson形式にエクスポートされたアニメーションデータを使用します。
アニメーションがjson形式なので、クロスプラットフォームで動かしやすい、ファイルサイズが大きくなりにくい、ネットワーク経由でも読み込みが可能になる、キャッシュを効かせやすい、など、様々なメリットがあります。また、LottieはAndroid、iOS、Web、React Nativeで扱うことができ「lottie-react-native」はその名の通りLottieをReact Nativeで扱うためのライブラリになります。
準備
インストールしたいプロジェクトで以下のコマンドを実行します。
| 1 | npm i --save lottie-react-native |
インストールが完了したら以下のコマンドを実行します。
| 1 | react-native link |
実装
アニメーション用のjsonファイルを準備します。LottieFilesというサイトからサンプルを取得できるのでこちらから使用していきます。使用するアニメーションが決まりましたら「assets」以下に配置してください。
まずはライブラリと上記で配置したjsonをインポートします。
| 1 2 | import LottieView from 'lottie-react-native'; import loading from '../assets/lottie/sample.json'; |
lottie-react-nativeでは、LottieViewコンポーネントを呼び出しアニメーションさせます。アニメーション発火のタイミングで使用するので、refで参照を付けておきます。
| 1 2 3 4 5 6 7 | <LottieView // 中略 ref={(refs) => { this.loadingAnimation = refs; }} source={sample} /> |
任意のタイミングでアニメーションを発火させます。今回はcomponentDidMountのタイミングでアニメーションを発火させています。このコードだけで、アニメーションを実装できます。簡単ですね!
| 1 2 3 | componentDidMount() { if (this.loadingAnimation) this.loadingAnimation.play(); } |
さいごに
やはりアニメーションをさせるとグッとアプリぽくなって良いと思います。


