前回は、Stripe Connectの導入について説明しました。今回は、一歩踏み込んで、Stripe Connectでサブスクリプションを実装する方法について紹介します。今回もダイレクト支払いのケースになります。
Stripeには製品と価格の概念があります。製品と価格は1:多の関係にあるため、1つの製品の購入方法をユーザに複数提供することができます。
例えば、あるサービスの利用権利を製品として販売する場合、月額課金と年額課金プランを別々の価格として登録し、紐づけておくことで、ユーザに複数のプランから選んでもらえるようになります。
今回は製品と価格をあらかじめ登録しておき、月額課金を構築していきます。
productsテーブルにStripeの商品ID、価格IDを持たせるため、前回のマイグレーションに追記します。
class CreateProductsTable extends Migration
{
    /**
     * Run the migrations.
     *
     * @return void
     */    public function up()
    {
        Schema::create('products', function (Blueprint $table) {
            $table->id();
            $table->string('name')->comment('商品名');
            $table->integer('price')->comment('価格');
            $table->integer('shop_id')->comment('ショップID');
            $table->string('stripe_product_id')->comment('製品ID'); // 追加
            $table->string('stripe_price_id')->comment('価格ID');   // 追加
            $table->timestamps();
        });
    }
・・・後略・・・ 次に、ProductControllerに商品登録用のfunctionを追加します。
class ProductController extends Controller
{
    /**
     * 製品作成ページ
     */    public function create()
    {
        return view('product.create');
    }

    /**
     * 製品・価格登録
     */    public function store(Request $request)
    {
        Stripe::setApiKey(env('STRIPE_SECRET'));
        $shop = Auth::guard('shop')->user();

        // Stripeに製品を作成
        $stripeProduct = \Stripe\Product::create([
            'name' => $request->name
        ], [
            'stripe_account' => $shop->stripe_account_id
        ]);

        // Stripeに価格を作成
        $price = Price::create([
            'product' => $stripeProduct->id,    // 先ほど作成した製品と紐づける
            'unit_amount' => $request->price,   // 単価
            'currency' => 'jpy',                // 支払通貨
            'recurring' => [
                'interval' => 'month'           // 支払サイクル (月額を指定しています)
            ]
        ], [
            'stripe_account' => $shop->stripe_account_id
        ]);

        // productsテーブルにインサート
        $product = new Product();
        $product->name = $request->name;
        $product->price = $request->price;
        $product->shop_id = $shop->id;
        $product->stripe_product_id = $stripeProduct->id;
        $product->stripe_price_id = $price->id;
        $product->save();

        return redirect('/products');
} store()でStripeへの製品・価格登録と、productsテーブルへのインサートを行っています。前回と同じように、第二引数でショップのStripeアカウントIDを渡すことで、ショップに紐づく製品・価格登録をします。
最後に、製品登録を行うためのviewを作成します。
<h1>月額課金作成</h1>
<form method="post" action="/products">
    @csrf
    名前: <input type="text" name="name">
    <br>
    価格: <input type="number" name="price">
    <br>
    <button type="submit">登録</button>
</form>
これで実装は完了です。
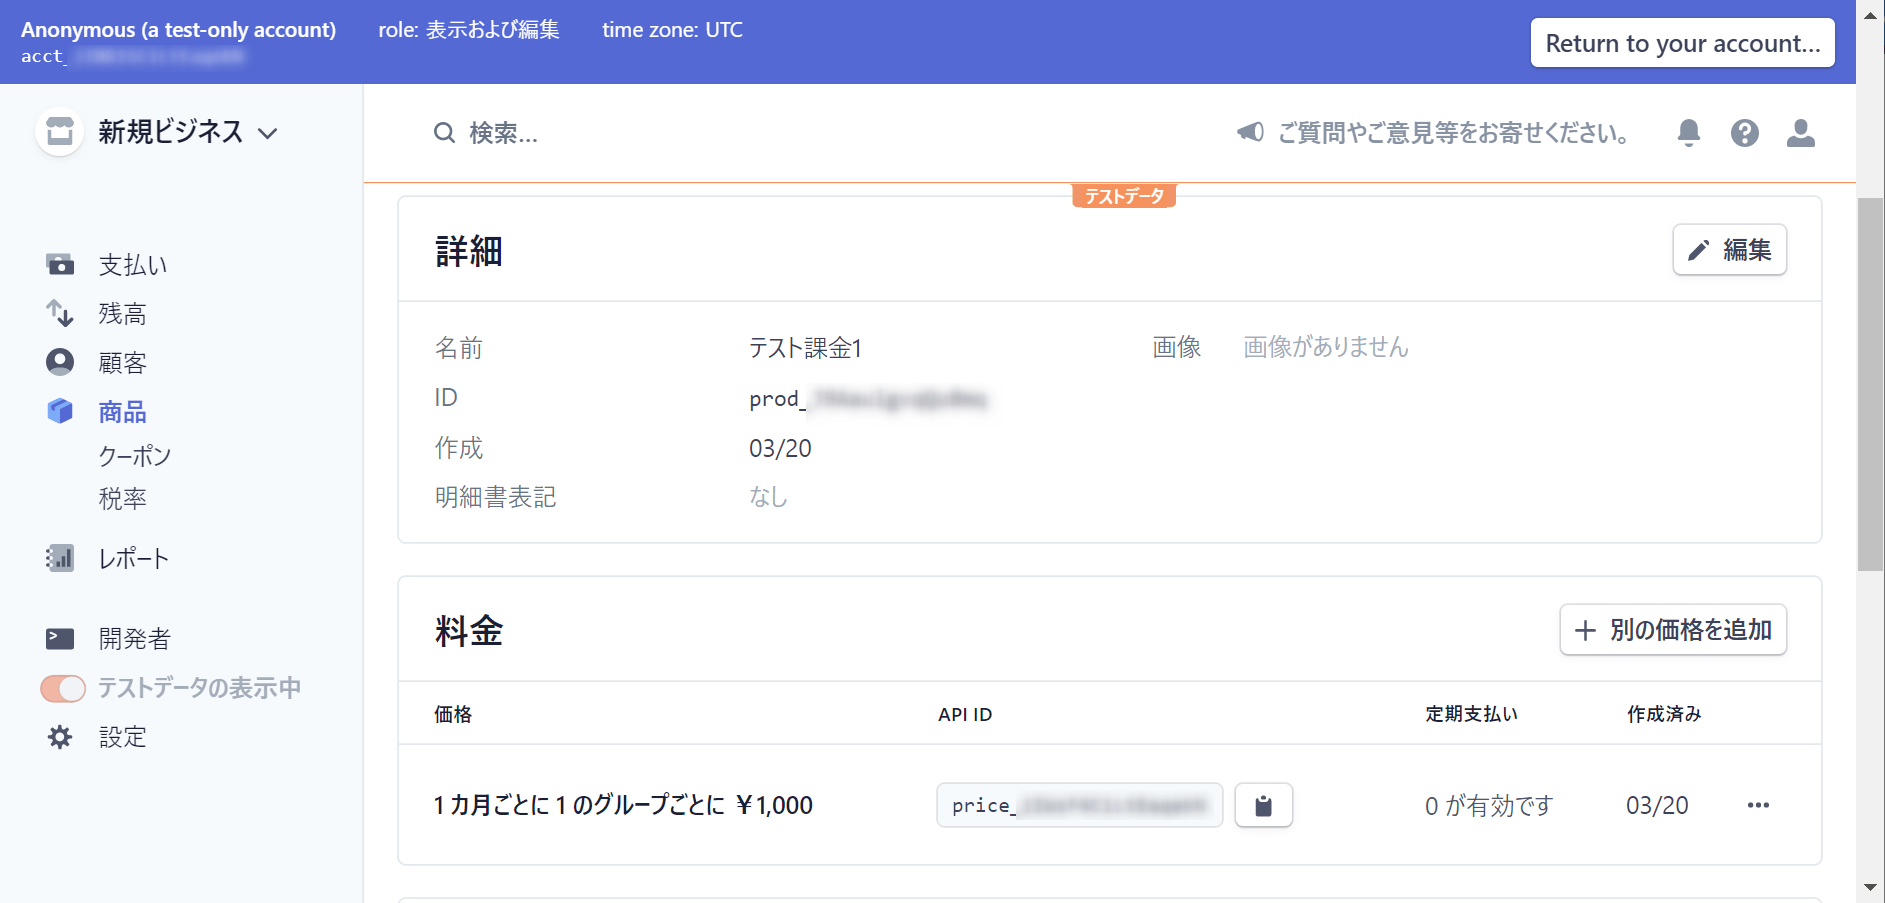
実際に登録し、Stripeの画面上で登録できたことを確認します。
Stripeで商品を見てみると、登録した製品と価格が入っていることが確認できます。
それでは、実際にサブスクリプション登録処理を作成していきます。
課金処理用のルーティングを通しておくため、web.phpに以下を追記します。
Route::post('/products/{product}/subscribe',[\App\Http\Controllers\ProductController::class, 'subscribe']); 課金処理を実装していきます。
class ProductController extends Controller
{
・・・中略・・・
    public function subscribe(Request $request, Product $product)
    {
        Stripe::setApiKey(env('STRIPE_SECRET'));
        $user = Auth::guard('web')->user();

        // 店舗の顧客の重複チェック
        $customers = Customer::all(
            ['email' => $user->email],
            ['stripe_account' => $product->shop->stripe_account_id]
        );
        $customer = null;
        if ($customers->count() > 0) {
            // 既に顧客が存在する場合は、それを使う
            $customer = $customers->first();
        } else {
            // 顧客が存在しない場合は、作成する
            $customer = Customer::create([
                'email' => $user->email,
                'payment_method' => $request->payment_method_id
            ], [
                'stripe_account' => $product->shop->stripe_account_id
            ]);
            // 顧客のデフォルトの支払方法を変更する
            $customer->invoice_settings = ['default_payment_method' => $request->payment_method_id];
            $customer->save();
        }


        // 課金登録
        Subscription::create([
            'customer' => $customer->id,
            'items' => [[
                'price' => $product->stripe_price_id
            ]]
        ], [
            'stripe_account' => $product->shop->stripe_account_id
        ]);
    }
処理の流れとしては、
という流れになります。
ダイレクト支払いの場合、Connectアカウントごとに顧客管理する必要があります。そのため、今回の場合はショップを初めて利用する顧客の場合のみ、新規作成するようにしています。
最後に、viewを作って完成です。(前回作ったものと同じです。)
<h1>月額プラン登録</h1>
商品名: {{ $product->name }}<br>
価格: {{ $product->price }}

<h2>購入</h2>
<form id="payment-form">
    <div id="card-element">
        <!-- ここにカード番号・有効期限・CVCの入力フォームが表示される。 -->
    </div>
    <input type="text" id="name" placeholder="カード名義">

    <!-- エラーメッセージの表示 -->
    <div id="card-element-errors" role="alert"></div>
    <button type="submit">登録</button>
</form>

<form id="update-payment-form" method="post" action="/products/{{ $product->id }}/subscribe">
    @csrf
    <input type="hidden" name="payment_method_id" id="payment-method-id">
</form>

<script src="https://js.stripe.com/v3/"></script>
<script>
    // Elementsの表示
    let stripe = Stripe('{{ env('STRIPE_PUBLIC') }}', {
        stripeAccount: '{{ $product->shop->stripe_account_id }}'
    });
    let elements = stripe.elements();
    let card = elements.create('card');
    card.mount('#card-element');

    card.on('change', function (event) {
        displayError(event);
    });
    function displayError(event) {
        let displayError = document.getElementById('card-element-errors');
        if (event.error) {
            displayError.textContent = event.error.message;
        } else {
            displayError.textContent = '';
        }
    }

    // カード情報をStripeに送信
    var form = document.getElementById('payment-form');

    form.addEventListener('submit', function (ev) {
        ev.preventDefault();
        createPaymentMethod();
    });

    function createPaymentMethod() {
        let billingName = document.querySelector('#name').value;

        stripe
            .createPaymentMethod({
                type: 'card',
                card: card,
                billing_details: {
                    name: billingName,
                }
            })
            .then((result) => {
                if (result.error) {
                    displayError(result);
                } else {
                    // 支払方法をStripeに送信すると、paymentMethodが取得できるので、それをPOSTする。
                    var form = document.getElementById('update-payment-form');
                    document.getElementById('payment-method-id').value = result.paymentMethod.id;
                    form.submit();
                }
            });
    }
</script>
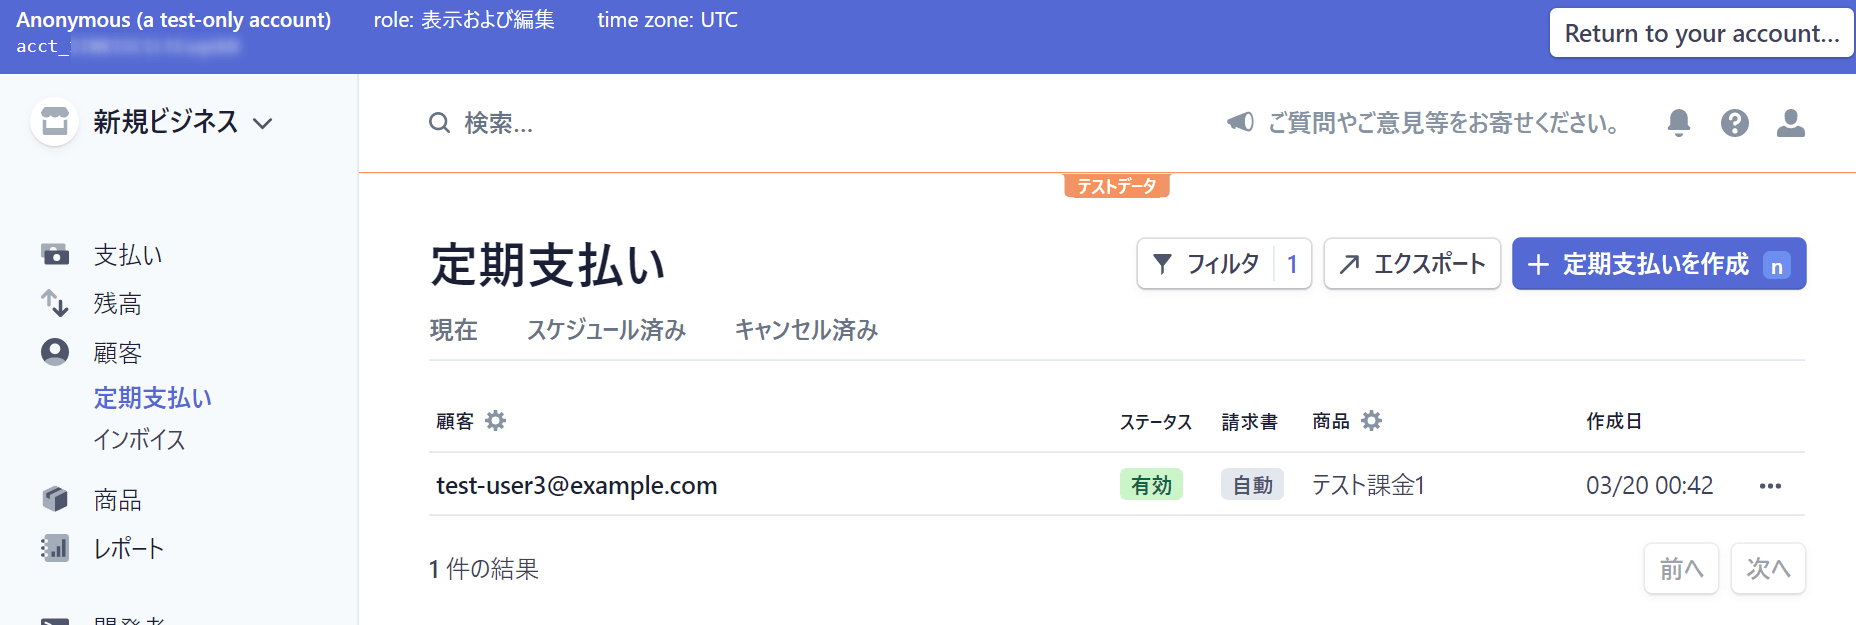
Stripe Connectアカウントの定期支払を確認すると、定期支払が登録されていることを確認できます。
このように、Stripe Connectで月額課金が出来るようになると、マーケットプレイス型の課金プラットフォームを構築することができます。参考にしてみてください。